Posted February 21, 2025
Ever feel like you’ve become your pet’s personal doorman?
The endless cycle of opening and closing the door every time they have an urge to explore (or just change locations for no reason)? We get it.
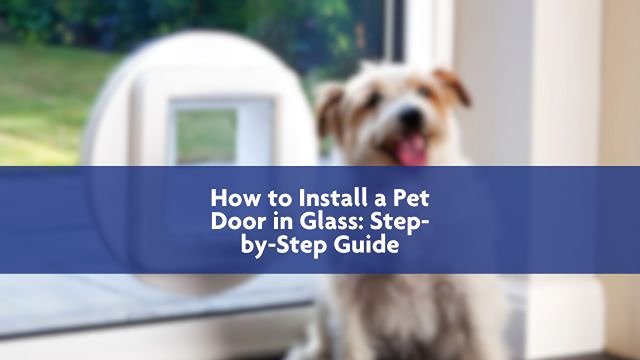
A pet door in your glass door can be a game-changer, giving your furry friend the independence they crave while letting you enjoy some peace.
But installing one isn’t as simple as cutting a hole in wood—it requires precision, patience, and the right technique.
This guide will walk you through everything you need to know to install a pet door into glass — step by step.
And if you get halfway through and think, Maybe I should leave this to the experts? Sharp Glass is always ready to help.
Yes, you can install a pet door in a glass door, but the process depends on the type of glass.
Different glass types require different installation methods, and in some cases, professional assistance may be necessary.
Here’s how different glass types affect pet door installation:
✅ Single-glazed glass: The easiest option for DIY installation. It can be cut, but careful handling is required to avoid cracks.
✅ Toughened glass: This type of glass cannot be cut. The entire panel needs to be replaced with a pre-cut glass panel that accommodates the pet door.
✅ Double-glazed glass: Similar to toughened glass, cutting is not an option. A custom pre-cut panel is required for installation.
✅ Sliding glass doors: These require a special type of pet door insert or a new panel replacement to accommodate the pet door.
Not sure what type of glass you have? A quick way to tell is by tapping on the glass—single glazing sounds hollow, while double glazing feels more solid. If you’re dealing with toughened or double-glazed glass, you may need a glazier to swap out the panel.
Not sure what type of glass you have? Here’s a simple trick:
If your door is toughened or double-glazed, you’ll need a glazier to install a custom-cut panel.
If you’re unsure, consulting a professional like Sharp Glass can help determine the best solution.
If you’re working with single-glazed glass and are confident in your DIY skills, follow these steps carefully.
Not all pet doors are created equal. When selecting a pet door, consider:
While DIY saves money upfront, a botched job could end up costing more if you crack the glass and need a replacement.
✅ Works best with single-glazed glass.
✅ Saves money—no need to pay for professional labor.
✅ Great if you have basic handyman skills and glass-cutting tools.
❌ High risk of cracking or breaking the glass if done incorrectly.
❌ Requires accurate measurement and steady hands.
✅ Recommended for toughened or double-glazed glass.
✅ Ensures a clean, safe, and durable installation.
✅ Avoids costly mistakes from DIY gone wrong.
❌ Costs more but saves you the headache of potential glass damage.
If you’re dealing with toughened or double-glazed glass, you’ll need to get a new pre-cut panel from a professional like Sharp Glass.
Yes! But if you have toughened or double-glazed glass, you’ll need a new pre-cut panel.
Microchip pet doors add extra security, while flap doors are budget-friendly.
You can cut a hole in glass only if it’s single-glazed. Toughened and double-glazed glass requires a professional.
Installing a pet door in glass isn’t for the faint-hearted, but with the right approach, it’s absolutely doable.
If you’re dealing with single-glazed glass, have a steady hand, and don’t mind taking on the challenge, go for it!
However, if you have toughened or double-glazed glass, or just prefer a stress-free solution, Sharp Glass can handle the job safely and efficiently.
At the end of the day, the goal is simple—freedom for your pet, and convenience for you.
So whether you DIY or call in the pros, your furry friend will thank you!